Trick were kind
enough to send me a replacement set of instructions all the way from the states.
I checked my build against theirs and realized my "heaviest zagi"
was only a little heavier than their bungy launch zagi. As I'm normally flying
it in stronger winds this extra weight has not been a problem at all, infact
looking at my current ability to perform gentle landings ( what ability?) it
has proved to be a benefit as the wing is much stronger.
My Zagi EPP now weighs 29oz (yes, that's twenty nine ounces). It weighed this much once balanced and has been test flown by an experienced RC pilot who says its flying OK. Since then I have replaced the standard 4xAAA cells with 4xAA cells. This was done for 2 reasons: Firstly because if the glider needs extra noseweight for it to balance then it might as well be usefull weight in cells as opposed to dead weight in plain lead, and secondly it means all my cells are the same making charging easier. When last tested the glider flew quite well and penetrated well into a good headwind. However having no other EPP to test against I'm not sure whether its good or just OK.
So what do you suggest I do next? Any help appreciated!
Here's what it looks like so far: (click pictures for larger image).
|
Topside centre line showing placement of cells, receiver and nose weight. | |
Topside showing partly taped port and fully taped starbord wing. | |
Underside showing taping |
|
Underside showing fibre taping and aerial taping |
I've only taped one wing up with the colour tape as I don't currently have any blue tape!
Both wings have been taped since Thursday and I've been flying on 2 days this weekend in the yorkshire Dales in the UK. Heres some pictures of what it looks like on the gound:
Well the pictures will be here soon!
and heres some of what it looks like in the air. (click for the full size animations but beware! they are large!)
All the animations below can be clicked to get full sized versions. I'll be tidying them up so the full sized ones aren't quite so big but until then you'll have to wait for the downloads.
 |
Here you can see the launch from head on showing how effortless it is. I never really had to heave the wing but then it does weigh a lot and the wind was really strong! | |
 |
Heres a launch from the side showing how easy it is to do an overhead launch. | |
 |
Here's another face on launch. This one nearly took out the camera man. Unintentionally of course! |
Launch left handed, 4 fingers on top of nose, thumb supporting underside, facing into wind. Very little pressure was needed as the wing was already wanting to fly. The controls could be held with the right hand so the wing can be flown as soon as it is relesaed. However I found once trimmed correctly it didn't need any input until well in front of the hill (unless it hit lift). I found that if you pick up a downed plane with your left hand, 4 fingers on the nose and thumb underneath the wing was easy to carry as long as you kept it pointing into wind. I found most other one handed methods of carrying it resulted in it "flapping about".
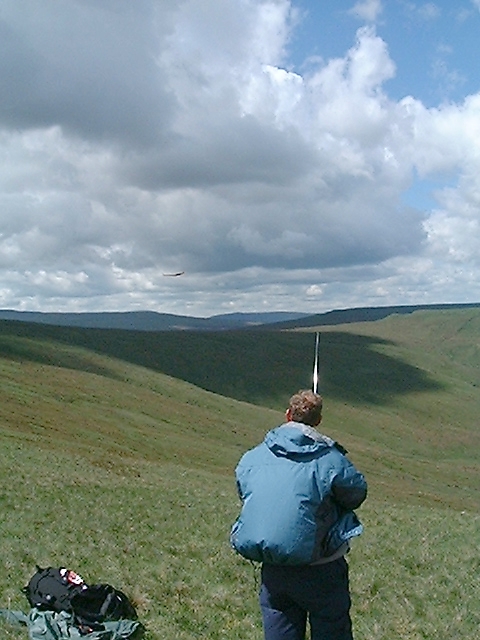
Here are some stills showing just how high the wing was going.
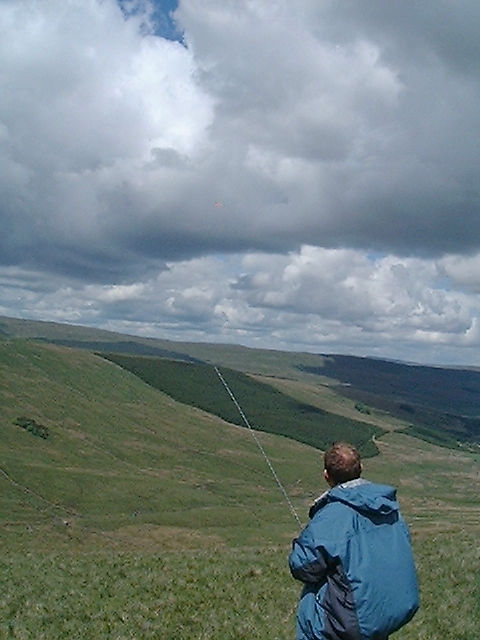 |
Spot the zagi! | |
 |
Spot the zagi 2! |
The glider had an extra 1.5 oz stuck to the Cof G for most of these flights as the wind on the hill was strong.
Flying Site: Mam Tor, Derbyshire
Flying Time: 2000 -2120
A strong southerly wind meant launches were merely a case of holding the wing above your head and letting go. I'd removed 3/4 oz of lead from the C of G to see if it would fly better when lighter. It did. No throw was needed at all and the wing immediately gained about 20ft as it flew away from the hill. It was a great day to learn more as even if you got it wrong there was enough lift to bring you straight back up above the ridge. Trying loops starting poining away from the ridge I was finding it stalled at the top of the loop, the nose dropped, the wing twisted though 90 degrees and then resumed normal flight parallel to the ridge. Great for getting back nearer the ridge without flying back directly. Further attemps at loops all failed with the same effects. After a short test fly another pilot on the hill suggested I move the C of G back. I moved a 1/2 oz weight back from the nose by about 2 cm and the improvement was noticable when looping, although when it was tested inverted it was still not right. I couldn't tell any difference during normal level flight.